Being a Renaissance Festival enthusiast, Mead has become a favorite among alcoholic beverages that I choose to indulge in. Mead can range in alcohol content anywhere from 10% – 20% ABV and can come in any variety of flavors, including those similar to an average beer.
Materials Needed:
- Large glass jar with lid
- Measuring cup
- Glass or mug
- Hydrometer
- Graduated Cylinder
- Turkey baster
- Teaspoon
Ingredients:
- 1 gallon Spring (purified) Water
- 1 tsp. GoFerm Yeast Starter
- 1 tsp. Lalvin Yeast
- 5-6 cups Honey
- 1 tsp. Fermaid K
- (I created a coffee mead and used about 32 oz. of cold brew coffee and the remainder Spring Water to create a gallon of Mead)
Steps:
1. In your mug, pour ¼ cup Spring Water and add 1 tsp. of GoFerm Yeast Starter. Mix thoroughly.

2. Then, sprinkle 1 tsp. Lalvin Yeast over the Spring Water and GoFerm Yeast mixture. DO NOT STIR IN!

3. Pour the remainder of the gallon of Spring Water in your large jar. (For mine, it was about 32 oz. cold brew coffee and about 94 oz. of Spring Water)

4. Measure out about 2 ½ cups of Honey (to start) and add it to the large jar of Spring Water. Stir in thoroughly.

5. Use the Turkey Baster to add some of your Mead mixture (in the large jar) to the Graduated Cylinder.
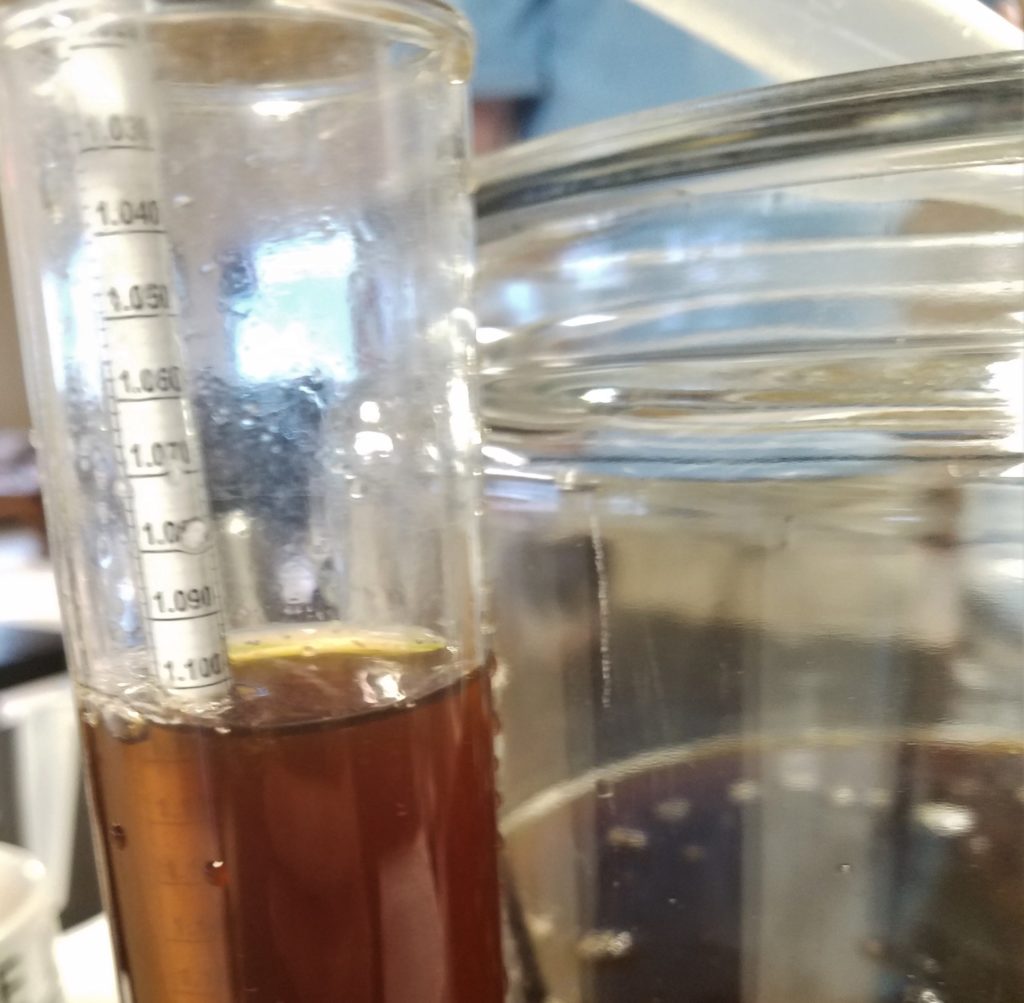
6. Using the Hydrometer, measure the starting gravity of the Mead mixture in the Graduated Cylinder.
*You’ll want a reading of about 1.110 as a target starting gravity to get an end result of about 14% ABV.*

7. If not at the desired starting gravity reading, add another 1/2 cup of Honey. Do this again as needed to reach desired starting gravity.
8. Once at your desired reading, add 2 full Turkey Baster squeezes of your Mead mixture (in the large jar) to your Yeast mixture (in the mug).
*Note: Keep the large jar of Spring Water and Honey mixture covered to keep from contaminants getting in.*
9. After about 20-30 minutes, add another Turkey Baster squeeze of the Mead mixture to your Yeast mixture along with 1 tsp. Fermaid K. Stir thoroughly and then let sit.

10. Once the Yeast mixture in your mug is bubbling and showing activity, add that mixture to your Mead mixture in the large jar.

11. Now, all the mixing of ingredients is complete and it is ready to sit and ferment.

12. After the first month, you will want to Rack the mixture that is in the jar into a smaller jug with an airtight seal to remove the air space and take another gravity reading.
13. From there, you will repeat the Racking and Reading process once a month to help clarify the Mead as it ferments. (After the second Racking, I actually added ½ of a whole vanilla bean, split open, to the fermenting mixture)
The Yeast should be finished fermenting and the Mead ready for bottling after 4 months. At this time, it is drinkable, but will still be a little bit harsh. As with wine, the flavor of the Mead will mellow and get better with age, being at a really fine drinking point after about a year.
Here are some fermenting progress photos of the coffee mead a day later, a week later, and a month later…


Cheers!
Add me on Untappd to follow my beer experiences.
Be sure to like the Facebook page for photos and updates!
